The evaluation and development of phosphors and phosphor systems focus on extensive optical and spectroscopic analyses, thermal measurement methods, and characterisation measurements in the laboratory. Further to this, we have excellent technical equipment as well as a customer-oriented team with excellent competencies. In addition to the equipment at the Fraunhofer Application Center Soest, the expertise and equipment of the South Westphalia University of Applied Sciences, Soest, and also equipment at the other locations of the Fraunhofer Fraunhofer IMWS are available for our research work.
Services of the Fraunhofer Application Center Soest
Range of services
Characterization and evaluation
- Determination of absolute photoluminescence quantum efficiency
- Measurement of photoluminescence excitation and emission spectra, (temperature and/or angular resolved)
- Reflection, transmission and scattering measurements (UV-Vis-IR)
- Measurement of the bidirectional scattering distribution function (BRDF, BTDF)
- X-ray diffraction: crystal structure, crystallinity, crystal orientation and strain
- Calorimetric methods for determination of specific heat capacity as well as glass transition and crystallization temperatures
- Evaluation of phosphor stability at high temperatures and high excitation powers
- Measurement of luminous intensity distribution in far field
- Determination of color distribution by measurement of angular resolved emission spectra
- Measurement of luminance and luminance distribution (near field) at different angles
Fabrication and development
- Fabrication and development of different glass systems
- Investigations of glass ceramics
- Light simulations based on ray data
- Structuring of materials with ultrashort laser pulses for surface modification
Thermal management
- Analysis of heat development and heat propagation by imaging infrared thermography (in the millisecond range)
- Determination of thermal parameters such as thermal diffusivity, thermal conductivity, specific heat capacity
- Measurement of temperature differences and visualization of heat sources with active (lock-in) thermography
Surface and elemental analyses
- Thermal and thermokinetic analyses
- 3D laser scanning microscopy for contact-free and non-destructive topografic analysis
- Electron microscopy
- Measurement of the angular dependent reflectance and transmittance of surfaces, coatings, and materials

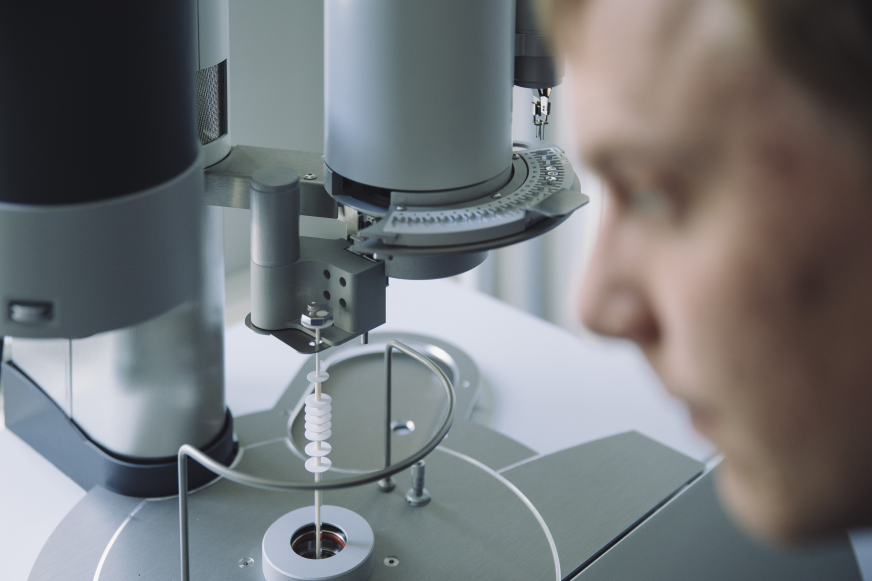
Transition processes in materials can be investigated by thermal analyses using dynamic differential calorimeters.
Equipment
- 3D laser scanning microscope
- electron microscope with energy-dispersive x-ray detector (EDX)
- glove box with inert atmosphere and high-frequency induction furnace
- high temperature furnace up to 1700 °C
- photoluminescence quantum yield measurement setup
- six-axis robot goniophotometer
- infrared thermography system (active/passive)
- CO2 laser for scribing
- ultrashort pulse laser system
- photoluminescence setup with cryostat system and high temperature unit (from 10 K up to 700 K)
- differential scanning calorimetry up to 1500 °C
- precision scale with density measurement unit
- FT-IR spectrometer with emission unit
- Raman spectrometer
- US-VIS-NIR spectrometer with integrating sphere
- light scattering measurement system
- X-ray diffractometer for stress, texture, and phase analysis with high temperature unit and thin film setup, sample changer
- setup for long-term stability investigations in the temperature range from 4 °C to 220 °C